

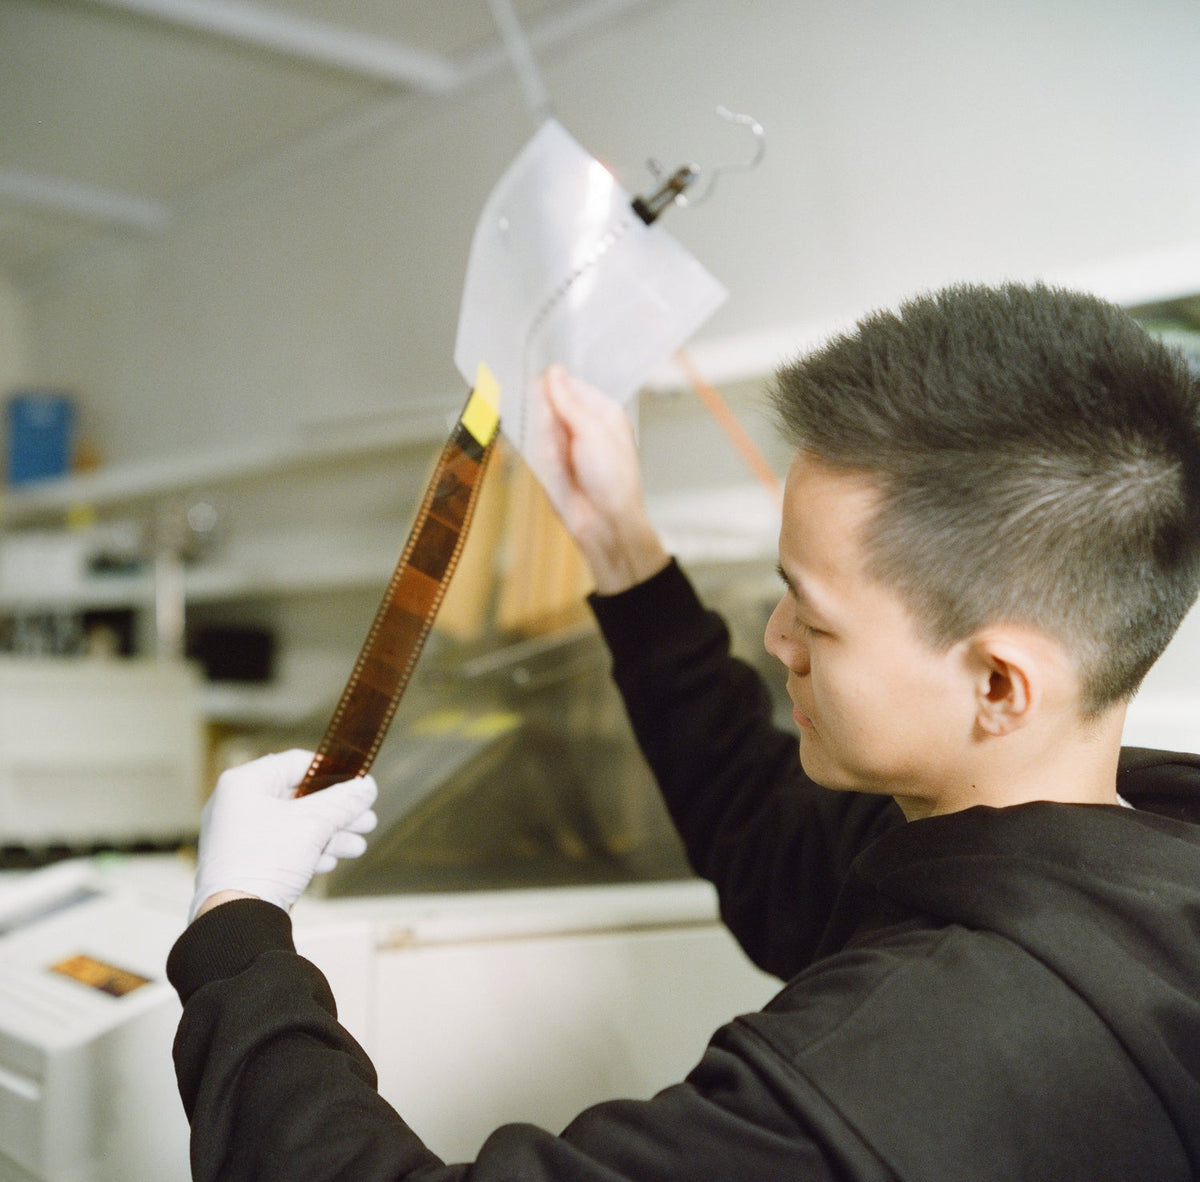
A blank scan does not tell the whole story. Loading, exposure, film transport, storage, processing or scanning may be involved. Keep the negatives and compare them with the files before deciding what to check next.
This guide mainly covers colour-negative and traditional black & white film. E-6 slide film is a positive image and needs different interpretation. Only inspect film that has already been developed; keep exposed, undeveloped film protected from light.

Keep the full roll and your order details when asking about an unexpected result.
Start with the negatives
- Keep the full roll. Handle dry, developed film by its edges and leave the strips in their sleeves when you are not inspecting them.
- Look against a soft, even light. Compare the image areas, the borders and whether the same pattern repeats from frame to frame.
- Check any manufacturer markings. On 35mm film, look outside the frames near the sprocket holes. On 120, inspect the borders; there are no 35mm-style sprocket holes, and markings vary by stock.
- Compare the film with the scan. Note whether the physical negative has detail that the digital file does not show.
- Save example files and your order number. Note the camera, film stock and anything unusual during loading, shooting or unloading.
What different appearances can suggest
Use these observations to start a conversation, not to diagnose a roll with certainty. Film type, exposure and processing history all matter. More than one problem can affect the same roll.
What you see on the negative |
Possible starting points |
What to do next |
|---|---|---|
Clear image areas; expected edge markings visible |
Little or no exposure; loading, transport or shutter operation |
Check how the film loaded and advanced. Ask the lab if the cause is unclear. |
Clear strip; expected markings absent |
A development-stage problem may be involved |
Keep the film and ask the processing lab to inspect it. |
Thin, faint image detail |
Underexposure or underdevelopment |
Compare the full roll, exposure notes and scans with the lab. |
Very dense areas or fogging |
Heavy exposure, accidental light, storage or processing |
Note where density extends into the borders and whether it repeats. |
Milky or veiled appearance |
Incomplete fixing is one possibility; appearance alone does not establish the cause |
Ask the lab to assess the film before any further treatment. |

Illustration only: simplified 35mm negative-film clues, not real lab samples or a diagnosis. Not for E-6 slide film.
Visible edge markings show that some development occurred. They do not rule out every processing, handling or scanning problem.
Why are only some frames blank, dark or streaked?
A problem affecting a few frames calls for a different investigation from a roll with no visible images at all. Lay out the developed strips in frame order, without touching the image surfaces, and note where the appearance changes. Keep neighbouring frames together. The transition from a normal image to a thin, blank or dense area can be more informative than an isolated screenshot.
Start with the shooting sequence. Were the affected photographs made indoors, after sunset, with a different lens, or after changing a camera setting? A group of dark photographs made in similar light may have a different explanation from a repeated band appearing across unrelated scenes. These observations help narrow the questions without proving whether the cause was exposure, transport, handling or processing.
Also note whether a mark stays within the picture or extends into the borders. Light fogging can cross frame boundaries; it does not always respect the shape of the image area. Avoid cropping away those borders in the reference photograph you send to the lab. If the scans have been renamed or rearranged, retain the original filenames so the lab can identify the corresponding frames.
What changes for 35mm, 120 and disposable cameras?
On 35mm negative film, the sprocket holes and any manufacturer markings provide a border reference beside the photographs. A rewind knob that moves during advance can be useful on cameras designed that way, but not every camera offers the same loading indicators. Follow the instructions for your particular model rather than assuming a manual-wind check applies to an automatic camera.
For 120 film, there are no 35mm-style sprocket holes. Finished rolls rely on tightly wound backing paper to protect the exposed film until processing. If a roll became loose while unloading, record that fact and keep it protected from light. Do not unwind it to look for damage. Once developed, border markings and frame spacing still need to be interpreted for the stock and camera involved.
A disposable camera is another distinct case. If it still contains the exposed film, bring or post the whole camera rather than opening it to inspect the roll. After processing, use the negatives and scans for the same initial comparison. The camera’s simple controls do not make every dark photograph a lab fault, and the film’s age or handling history may also be relevant. Tell the lab what you know, even if the camera was found long after it was used.
Check the camera without risking another roll
Check the camera’s ISO setting against the film’s box speed. An unintended mismatch can affect exposure across a roll. If you deliberately rated the film at a different exposure index, include that information when discussing the results with your lab.
- With no film loaded, follow the camera manual to check that the shutter, aperture and advance mechanism operate as expected. Do not touch shutter curtains or force a stiff control.
- Inspect the film-door seals. Crumbling foam or recurring light leaks are reasons to arrange a camera service.
- Review loading and unloading. Confirm 35mm film engaged the take-up spool and was rewound before opening the back. Keep finished 120 rolls tightly wound in their backing paper.
- For an unreliable camera, use a test roll and record the settings before taking it to an important occasion.
If you are choosing a stock for that test, our beginner’s guide to 35mm film explains the options. Our C-41 process guide explains how colour-negative developing differs from scanning.
How to run a useful test roll after a problem
A test roll is most useful when it answers a specific question. First deal with an obvious mechanical fault or arrange servicing if the camera is unreliable. Then use a film stock with a known storage history, note the camera settings, and photograph a few ordinary scenes in steady light. You are building a record that can be compared with the negatives, not trying to reproduce every possible failure at once.
Keep the test easy to interpret. Avoid changing the camera, lens, film stock and exposure method together unless one of those changes is the point of the test. Write down any deliberate exposure-index setting and tell the lab about it. If you intentionally expose differently from the box speed, that choice belongs in the record; it is not automatically a metering mistake.
When the film is returned, compare the frame sequence with your notes and inspect both the scans and physical negatives. Look for a repeatable pattern rather than judging only your favourite photograph. A successful test is useful evidence about those shooting conditions, but it does not certify a camera for every shutter speed or future situation. For important photographs, resolve recurring uncertainty before relying on the same setup again.
Could a different scan help?
Sometimes the negative contains detail that a different scan adjustment can show more clearly. If the film itself has little recorded shadow detail, brightening the file cannot recreate information that was never captured. A scanning setting cannot change the density of the physical negative.
For our current services, see the developing and scanning overview. When asking about an existing order, explain what you see on the film and attach example files rather than ordering another scan before the issue has been assessed.
What to record before you contact the processing lab
Make the first message easy to investigate. Include the order reference, the film stock and format, and the camera used. Describe whether the concern affects the whole roll or particular frames. If the film was old, stored in a hot place, difficult to load, or accidentally exposed to light, say so. Those details are useful context, not a reason to dismiss the concern.
Send an unchanged example scan and, where practical, a photograph of the corresponding developed strip against even light. Include the borders and adjacent frames rather than sending only a tightly cropped picture. Keep the originals and work from copies when making annotations. Ask the lab how it would like files supplied if the examples are too large for an email attachment.
A clear question is more useful than a conclusion such as “the camera is broken” or “the chemicals failed”. For example, describe that the negative has faint image detail but the supplied scan looks much darker, then ask which next check would help. If inspection or a new scan is suggested, confirm what will be done and any charge before ordering another service. Keep the negatives together until the discussion is complete.
Need help with a roll?
Contact the lab that processed it with your order number, film stock, camera model and examples. If we processed your film, contact your receiving Irohas lab. Keep the negatives until the question is resolved and ask before trying any further chemical treatment.
For future rolls, load in subdued light, protect film from heat and humidity, and follow the manufacturer’s storage guidance. Let chilled film reach room temperature in its sealed packaging before opening it. When you are ready to send a roll, our Australia-wide mail-in instructions explain the next step.


