

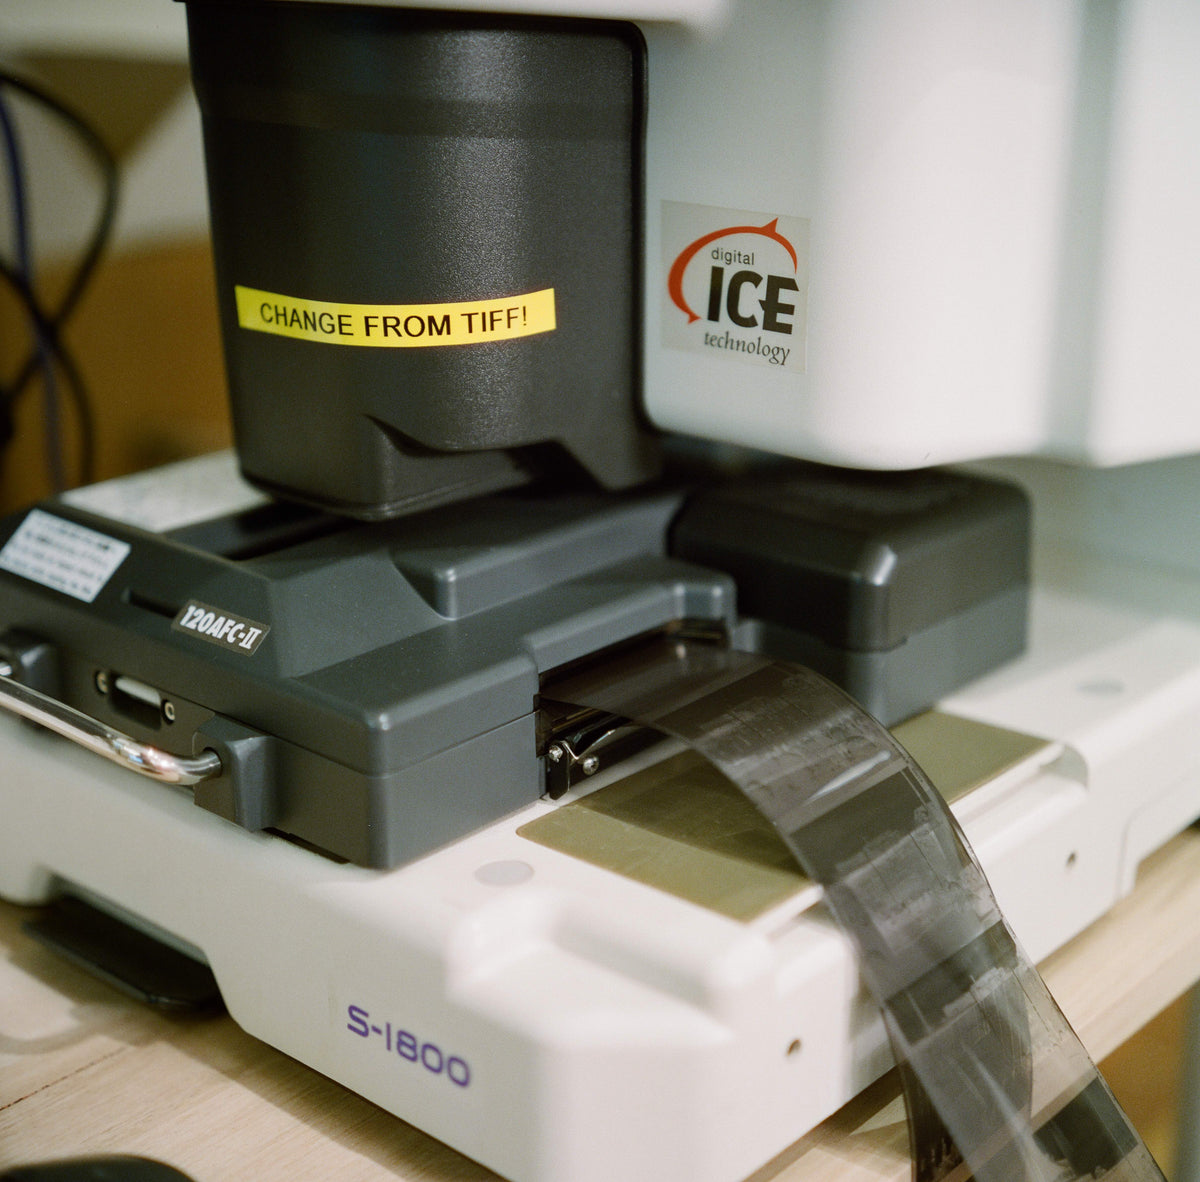
Choose the format for how you will use the photographs. JPEG is practical for sharing, everyday editing and many prints. TIFF can suit a lossless working master or a workflow that needs specific file properties. Neither extension tells you how large an image will print: check pixel dimensions, cropping and the printer’s requirements.
Our developing and scanning overview explains the current scan standard. High-resolution Noritsu scans are included with every Dev + Scan order; TIFF files are an optional A$8 per roll.

File format, bit depth and pixel dimensions answer different questions.
JPEG or TIFF: which fits your workflow?
Property |
Typical lab JPEG |
TIFF option |
What it means for you |
|---|---|---|---|
Compression |
Lossy compression |
Can store image data losslessly |
Keep the original scan. Avoid repeatedly overwriting a JPEG with lossy saves. |
Bit depth |
Normally 8 bits per channel |
May be 8-bit or 16-bit; confirm the specification |
A genuine higher-bit-depth source can help with substantial tonal edits. |
File size |
Usually smaller |
Often larger at comparable dimensions |
Check storage, software and upload requirements. |
Typical use |
Sharing, web and suitable finished prints |
Working masters or specified editing and print workflows |
Follow your editor or printer’s requirements, not a fixed print-size rule. |
TIFF does not automatically mean more pixels, more captured detail or 16-bit data. Converting an 8-bit source into a 16-bit file does not restore missing information. Our published TIFF option does not specify the delivered bit depth, so ask your receiving lab if your workflow requires it.
Bit depth and resolution are different choices
Pixel dimensions describe the image’s width and height in pixels; print resolution describes how many pixels are used per inch (PPI). Bit depth describes the precision used to represent tonal or colour values. Increasing one does not automatically increase the other. A large 8-bit scan and a smaller 16-bit file therefore cannot be compared using the file extension alone.
For substantial curves or colour adjustments, a genuinely higher-bit-depth source can give an editor more tonal precision to work with. That can help reduce problems such as banding during demanding edits, but it does not create image detail that the film or scan never captured. Nor does it correct an exposure problem simply because the file is saved as TIFF.
Check the actual properties of the delivered file when a specialist workflow depends on them. Ask for pixel dimensions, bit depth and colour profile as separate specifications. At Irohas, the published TIFF option does not establish the delivered bit depth, so do not choose it on the assumption that it guarantees a 16-bit source. Confirm the requirement with your receiving lab before ordering rather than discovering a software or print-workflow mismatch afterwards.
How to calculate print size from pixels
For each side of the image, divide the pixel count by the intended pixels per inch (PPI). For the reverse calculation, multiply the print dimension in inches by the target PPI. The table uses 300 PPI as a calculation example, not a universal requirement or a guarantee of print quality.
Print size (inches) |
Pixels at 300 PPI |
Aspect ratio |
|---|---|---|
6 × 4 |
1800 × 1200 |
3:2 |
12 × 8 |
3600 × 2400 |
3:2 |
18 × 12 |
5400 × 3600 |
3:2 |
Our published 35mm full-frame output is 4011 × 6048 pixels, approximately 24 MP. Dividing those dimensions by 300 gives about 13.4 × 20.2 inches before cropping or resizing. Check the dimensions of your actual file, especially for 120, half-frame or panoramic film.
Cropping removes pixels. An 11 × 14-inch print also has a different aspect ratio from a full 35mm frame, so it may need a crop or borders. Focus, film grain, scanner detail, print material and viewing distance all affect the result. Ask the printer for its preferred dimensions, PPI and colour profile, and request a proof for important work.
How cropping changes the pixels available for a print
A crop can matter more to print size than the choice between JPEG and TIFF. Cutting away part of a photograph reduces the source pixels available for the final composition. Start the calculation with the cropped file, not the dimensions of the original scan. Otherwise a print-size estimate can look generous while the chosen detail has far fewer pixels to support it.
For an illustrative 6000 × 4000-pixel file, a square crop using the full short side would contain 4000 × 4000 pixels: 16 million pixels instead of the original 24 million. At 300 PPI, that square corresponds to about 13.3 × 13.3 inches before further resizing. This is a calculation example, not a specification for every Irohas scan or a guarantee of how a particular negative will print.
Aspect ratio is part of the decision too. A full 35mm frame and an 11 × 14-inch print do not have the same proportions. Choose whether you want to crop the picture or keep the frame with borders, then check the remaining pixel dimensions. If the composition depends on a small detail, show that intended crop to the lab or printer before paying for another scan.
When is JPEG enough?
JPEG usually suits online sharing, web portfolios and finished photographs for a printer that accepts JPEG. A well-prepared file can make a large print when it has enough pixels and the source image supports it. You do not need TIFF solely because the print is large.
Keep the original scan and edit a working copy. Opening a JPEG without saving it does not reduce its quality. Repeated lossy re-saving can accumulate damage; a non-destructive editor can store adjustments separately and leave the original untouched.
When does TIFF make sense?
Choose TIFF when your editing, archiving or print workflow benefits from lossless saving, or when your printer requests it. For substantial colour or tonal adjustments, confirm whether the lab can provide a genuine higher-bit-depth source that suits your software.
A larger file is not a backup. Keep independent copies of the original scan whichever format you choose. Adobe’s guide to bit depth explains the difference between tonal precision and file size.
Preparing a film scan for a print order
Begin with the printer’s requirements, not an automatic file conversion. Confirm the final paper size, image size within any borders, accepted file format and requested colour profile. Ask whether the printer wants you to resize the image or supply the original dimensions. Different production workflows can have different submission requirements.
Work from a copy of the original scan. Set the crop deliberately and inspect the photograph at a useful viewing size for focus, unwanted marks and the result of your adjustments. Then check the pixel dimensions after cropping. Changing a PPI value without resampling changes the stated physical size, not the number of source pixels. Resampling can add or remove pixels, but enlarging a file does not reproduce missing original film detail.
Export the file the printer requests rather than converting to TIFF simply because it sounds more professional. Include the agreed crop or borders and keep a note of the settings used. For an important exhibition or gift print, a proof or small test print is a practical way to judge the actual result. It brings paper, tonal rendering and viewing conditions into the decision instead of relying only on a file-size calculation.
Keep an original, a working master and a delivery copy
These files have different jobs. The original scan is the unchanged file supplied by the lab. A working master holds the version you are editing or preserving in your chosen software. A delivery copy is prepared for a particular destination, such as a website, another person or a printer. Keeping the jobs separate makes it easier to return to the source without undoing later work.
Use clear filenames or folders so a smaller web export is not mistaken for the original. Keep the crop and resizing choices in the working file or editing record. A non-destructive workflow can store adjustments separately from the source image. If you edit and re-save JPEG copies, return to the original or master for a fresh export rather than repeatedly compressing the last delivery file.
A TIFF can be a useful working format, but changing the container does not restore information already discarded from a JPEG or turn an 8-bit source into a genuine higher-bit-depth capture. Independent backups remain necessary whichever format you choose. Keep copies in more than one place and check that the files open; the format itself cannot prevent an accidental deletion or a failed storage device.
What if I need another scan?
For already-developed negatives, Noritsu scan-only pricing is A$12 per uncut roll or A$15 per cut roll. These are separate services, not resolution upgrades to Dev + Scan. If you only need a few selected frames, Hasselblad / Imacon Flextight scanning is a separate A$20-per-frame service. Confirm the pixel dimensions, bit depth, colour profile and turnaround before booking.

Flextight is a separate selected-frame scanning service. Confirm the output specification for your film before booking.
View our current scan-only and Flextight options when comparing the services. Tell the lab your film format, intended crop and final print size so the discussion starts with the output you need.
What to ask before booking specialist scanning
Describe the intended photograph, not just a desired file extension. Tell the lab the film format and process, which frames you want, how tightly you expect to crop, and the final use. A request for a whole roll to review online is different from a request for two selected frames destined for large prints. The clearer the use, the easier it is to discuss a suitable service.
Ask which output dimensions, bit depth, colour profile and file format can be supplied for your film. Confirm the price and turnaround, including how you will identify selected frames and receive the files. If your printer has provided specifications, share them before booking. Do not assume that a separately priced scanning service automatically meets every requirement of a particular print workflow.
Compare that confirmed service with the files you already have. If the current scan has sufficient pixels after cropping and the required tonal information, another scan may not be necessary. If a new service is appropriate, retain the negatives and original files so the selection and result can be checked. The goal is a useful final image, not the largest possible file or an upgrade chosen without a defined purpose.
Choose the file for the final photograph
Start with the printer or editing workflow, check the pixels remaining after your crop, then decide whether the TIFF option is useful. For a new roll, our live service prices show what Dev + Scan includes. Posting existing negatives? Use the mail-in instructions and specify the scanning service you need.


